If you’ve been hiking before, you know that wearing the proper pair of hiking boots can make the difference between a nice and a bad experience. Buying the appropriate pair of hiking boots is a challenging process, with many aspects to consider.
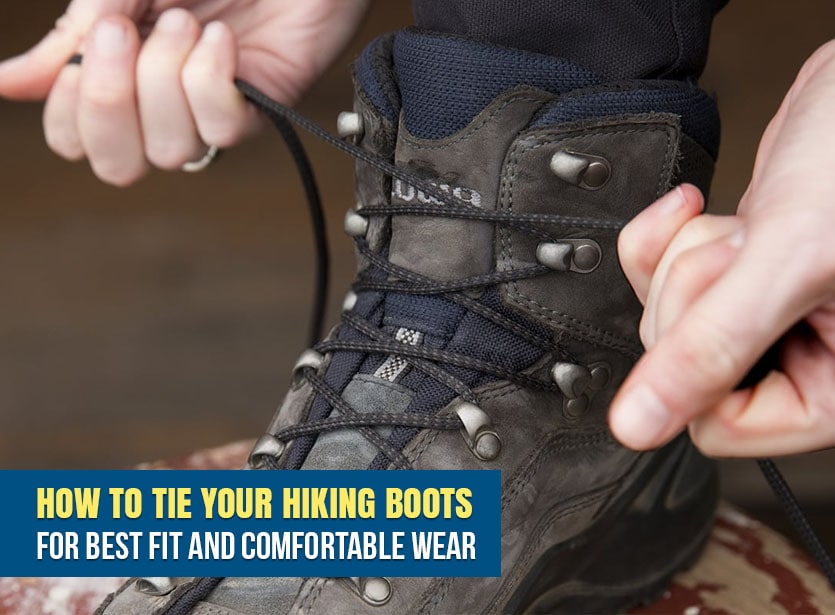
Once you’ve got your ideal hiking boots, other aspects affect comfort and fit, and lacing is one to name. No pair of hiking boots will provide the best fit unless you know how to lace them. We’re not talking about making a regular knot, but about what’s the best way to lace your boots for best comfort while hiking. Some unique knots will also make the difference for hiking, so keep reading to find out the details.
What are the basics of the correct lacing of hiking boots?
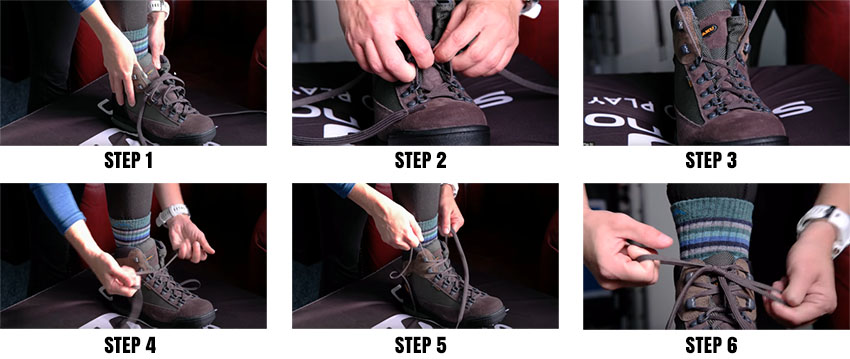
You don’t just go ahead and lace your hiking boots. You have to learn and remember some tips too.
Center the tongue
The tongue of your boots may slip to the side, causing less pleasant pressure marks, significantly if they also develop a crease. The pull of your straps won’t spread evenly, so you have to make sure that the tongue is always placed in the middle. Don’t forget to check if it stays in the center any now and then.
Some hiking boots feature a hook that keeps the tongue centered, keeping that in mind before buying.
Tie up any now and then
Thirty minutes after you begin your hiking, you should lace the boots again, as the foot will already be affected by the hiking. If you’re going to hike for hours, you should always tie the laces every time you don’t feel comfortable or snug.
What are the most common techniques for lacing hiking boots?
There are several techniques to tie the hiking boots, but some are more common than others.
The two-zone lacing
With a regular tie of the hiking boots, your boots may feel too tight at the top and lack the support at the bottom. Sometimes, the boots may feel tight at the bottom and loose at the top.
With the two-zone lacing, you will obtain the proper tension in both zones separately, for best comfort and fit.
Uphill& downhill
It would help if you tied the instep zone (the lower area) a bit tighter when you go up the hill. You will obtain better stability. Loose lacing at the shaft’s top provides freedom of movement.
When you’re descending, it’s better to tie the shaft zone tighter from the bend upwards. This way, you will keep the foot in place, reducing the risk of gliding to the front.
It’s useful to would help if you had a deep-draw hook (locking eye) for the two-zone lacing, which most hiking boots have. The eyelets at the transitioning area from instep to shaft will provide you the lacing. Two friction points will form after strapping the thrust straps from top to bottom and through the locking eyelet. You will get two zones, with tension correctly maintained in both the clamping area and the shank.
The pulley technique
When your heel slips out of the boot while hiking, it’s anything but pleasant feel. The heel may rub against the footwear every step of the way, generating chaffing and blistering.
You can start with strapping the shoelaces from the last eyelet into the two-deep draw hooks. Also, it’s best to use the pulley method. You may skip crossing the laces sometimes.
Strap the other t end through the lace that affixes the eyelet and the deep draw hook. As you’re pulling on the laces, the foot will be pulled into the boot, providing stability to the heel and reducing the friction. You may tie the boots regularly above the “pulley.”
Some tips to remember
No matter which method you use, some factors will always affect the efficiency of your lacing:
The bootlaces
The laces of your boots should match the performance and type of your hiking boots. It would help if you didn’t change them too soon. The thickness of the laces perfectly fits the eyelets’ diameters, so the self-locking deep draw hooks work efficiently.
The laces are also flexible and adjustable to the boots and your feet. If the laces are too tight, you will lose flexibility, which causes pressure marks. If the laces are torn or broken, make sure to pick the best replacement before hiking.
Reduce the pressure points and skip the intersection
When the boots pressure sideways, and you develop pressure marks, you should skip across as the closest point. Thread the shoelace right from eye to eye, overlooking the side change. Your foot will have more space, and the pressure mark for that area will disappear.
What other techniques can you use for your hiking boots?
Using various techniques for tying the shoelaces isn’t enough for your hiking boots’ best fit and wear. Here are some of the most useful knots to use with your hiking boots:
Surgeon’s knot
When your laces keep on coming undone if you’re using heel lock lacing or your boots loosen while hiking, the surgeon’s knot is a great choice. It’s very secure and relatively effortless to make:
- Begin with wrapping the ends of the laces around each other, without pulling the laces tight
- Wrapping the laces around each other a second time is necessary, making sure that you pull the lace’s end really tight.
- You may end by securing the lace’s end around the following lace hooks. You may also use a regular bow for tieing off.
Heel lock lacing
This knot is very safe to use when your heel lifts out of the boot or if you get heel blisters a lot. When the toe keeps touching the front of the shoes when descending, the heel lock lacing will provide the best comfort.
It will maintain the heel down into the back of the shoes, decreasing the risk of movement inside the shoe. Here’s how to do it:
- Begin with making sure that the heel is as far down to the back of the boot as you can
- Look for a point of your ankle’s front, where the foot is meeting the leg.
- Continue with running the laces to the next hook, locking off the knot. Don’t forget to make another surgeon’s knot.
- End with lacing as usual up the boot’s top.
Window lacing
This lacing will reduce the pressure of the top of the feet, so it’s useful to have high arches or high volume feet. Should you feel discomfort or pressure on top of your feet, the window lacing will be a great solution.
- Look for the essential pressure point, untying the laces right below the point.
- Continue with re-lacing and going up the following hook above the pressure point, and not crossing over.
- End with crossing the laces and lace-up to the top of your shoes as usual
Toe relief lacing
Hikers with bunions or wear boots tight across the toes should use the toe relief lacing. This knot will alleviate the pain in the toes.
- You have to un-lace the boots entirely.
- Re-lace the boots as usual, while skipping the first eyelets completely
Keep in mind that constant discomfort in the toe area means that you’re wearing the wrong boots. Put on some thin socks, as you may reduce the pain. If your toes still hurt, you should buy another pair of hiking boots.
Foot lockdown lacing
The technique is recommended to hikers with narrow feet or with low volume/flat feet. Hikers who have toes touching the front of the footwear while descending should also use this method.
- See the points in the boots that feel spacious.
- Continue with unlacing to the lowest point, adding a surgeon’s knot at that point.
- It would help if you made the surgeon’s knot in every spot where you feel you need a more secure fit.
Relaxed ankle lacing
When your boots run at the calf, or if you experience a lot of pressure on the ankle bones, this type of lacing will make wear a lot more comfortable. Hikers with wide calves should use the method too.
- You may start by lacing your footwear as you typically do
- The next step is to run the laces over the top of the loops’ top
- End with tieing normally, right below the top loop
This technique will give you some extra space and movement between the calves and ankles and the collar of your boots.
Before you go away
How to lace the hiking boots the best way is something you learn in time. As long as you’re aware of the importance of lacing for fit and comfort, you should be able to master it soon enough.