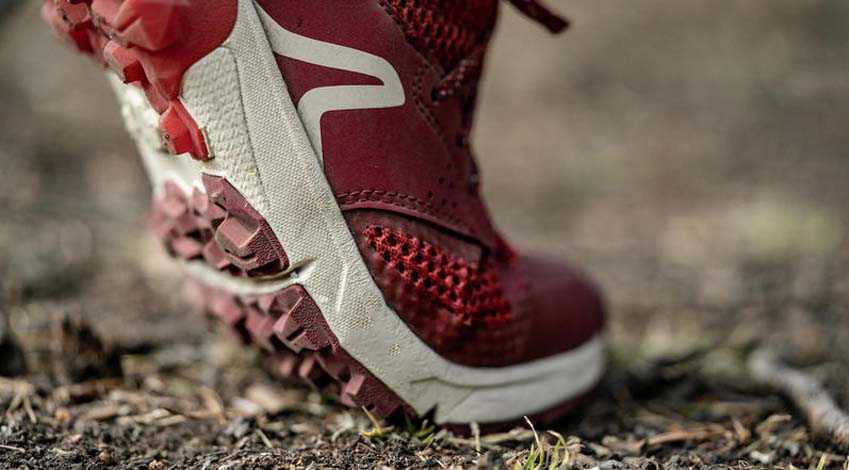
You don’t just buy a pair of hiking boots for hundreds of dollars and expect them to fit you perfectly right out of the box. Even if high-end boots, made with excellent materials, design, and craftsmanship, it’s possible to skip the break-in period, you shouldn’t take your chances.
“breaking it” is the process of slowly and gradually mold the new boots to the shape of your feet. The process will soften up the leather/fabric so that the shoes flex where you need for walking. It will reduce the risk of hot points and blisters, allowing you comfortable wear.
Do all people break in their hiking boots?
Honestly, it’s quite tempting to skip the break-in process and wear the boots right out of the box. However, breaking in footwear can also expand its lifespan, not only spare you of some blisters.
The Internet provides plenty of information about how to break in boots, but it’s not always accurate information. Not only that, but some of those tips won’t work, but they can also damage your new pair of hiking shoes.
What’s the most effective way to break in your hiking boots?
It would help if you bought your new hiking boots a long time before hiking so that you have the time to break them in. Three weeks before the hike is considered to be a reasonable period.
Wear footwear around the house
It would help if you took time out from your slippers and put on the new boots for a couple of days to start the break-in process. It would help if you also put on your thick hiking socks, as boots are rigid out of the box, and the risk of rubbing is areas is high. If you typically use custom-made insoles, it’s a good idea to put them inside the boots too.
The more you wear the boots, the more comfortable they will feel. Now it’s an excellent time to see, once again, if the shoes are the right fit for you or not. No break-in process will turn a pair of low fit boots into a good one. If your toes feel cramped or if the boots pinch, the shoes will never feel comfortable.
A reliable retailer will provide a return period, as long as you didn’t wear the boots outside.
Take it on short walks.
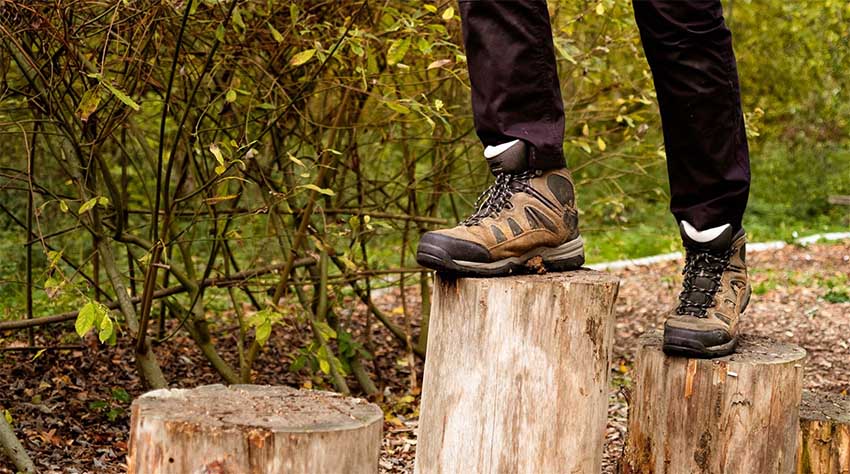
After some time, you can take the boots outside the house for 20-minutes walks around the house. Wearing the right pair of socks and correctly lacing the boots count a lot for comfort and fit. As the footwear breaks-in, you may expand your walks’ duration and the difficulty and distance.
Walk some small hills or try various terrains with the new boots. As you wear the shoes, creases will develop as the footwear flex with the feet, whereas the tongue and ankle collar get softer.
Try a hike with a loaded backpack.
Now that you’re able to hike for a couple of hours with your new hiking boots, it’s not a bad idea to take a backpack with you, as if you were walking. It’s a wise idea to pack an old pair of hiking shoes to put them on if the new boots start to become uncomfortable. Some blisters plasters should be in your pack to use in case you develop hot spots.
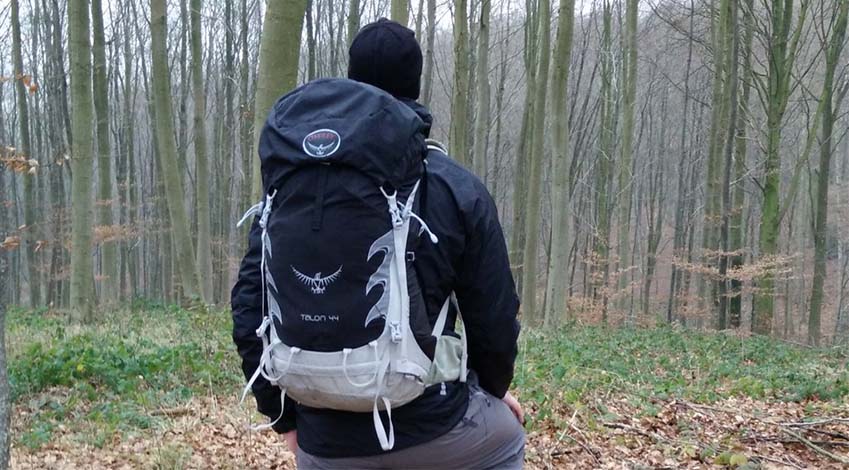
The little toe, the heel, and the Achilles tendon (at the top of your cuff’s ankle) are the typical areas that develop hot spots. Discomfort or pain in these areas should disappear after breaking in your boots.
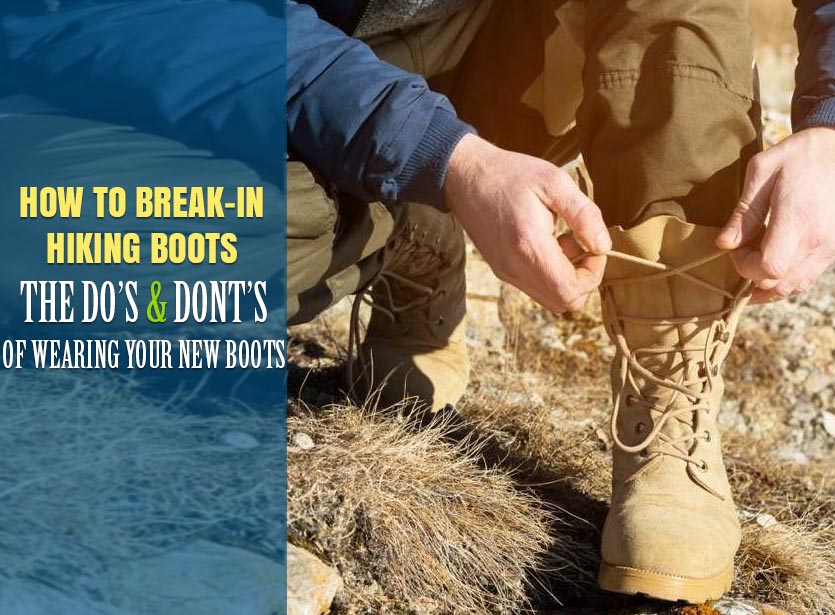
What should you do to break in the boots faster?
Like everything else in life, some things will smooth out the break-in process, whereas others will slow and even damage the operation. Keep reading to find out what you can do to improve the break in process.
Flex the sole
It’s possible that the soles feel very stiff throughout the breaking in process, and you may flex the soles with your hands for softening a little bit.
Slow flex the toe of the boots and the toe upwards, but use a gentle flex. You will soften the midsole, outsole, and footbed. Try not to overdo it, nevertheless.
It would also help if you avoided twist from side to side, as the torsional stiffness ensures the underfoot stability, which is essential for hiking.
Take care of the leather.
If your boots come with leather ankle cuff and tongue, they will feel stiff in the beginning. They will soften in time, but it could take a lot of time until they’re very soft. Working the leather with your fingers will speed up the process.
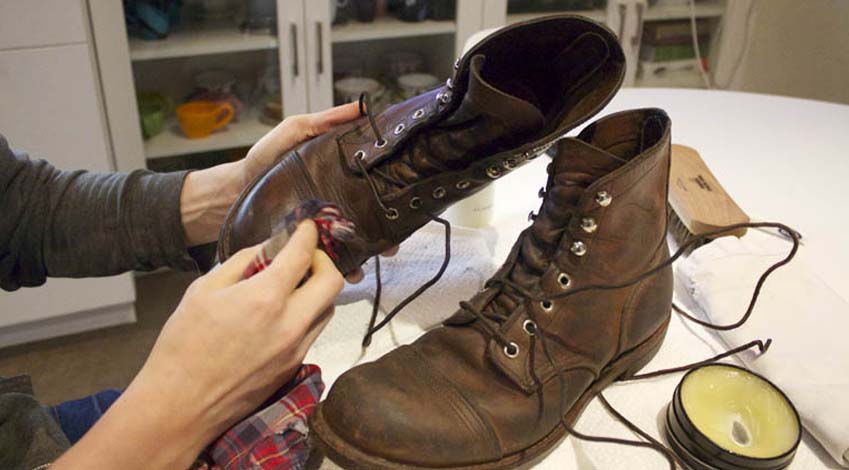
You may work the tongue and the ankle cuff with your thumbs and index fingers, softening the stiff areas.
A leather conditioner (leather balsam/leather balm) can also soften your full-grain leather boots, softening and helping with the flexing. Don’t use the leather conditioner on nubuck or suede leather.
Leather conditioner is easy to find in shoe stores. After applying it to your boots, you should let it dry naturally so that it absorbs into the leather. Keep in mind that some products could darken the color of the leather. It’s a good idea to apply a bit of it to a less noticeable area first.
Use a boot stretcher.
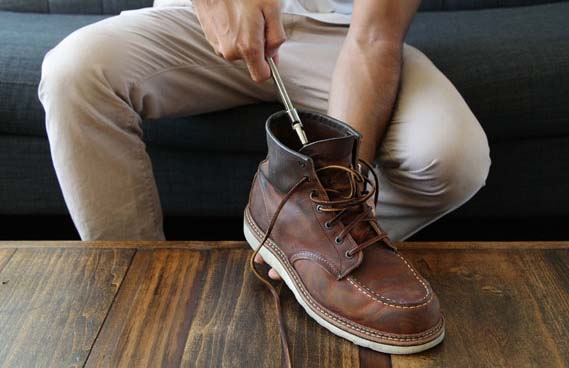
You may use a wooden boot stretcher for stretching the new footwear a bit if the break-in process is moving too slowly. Some boots stretchers come with plastic plugs that you may use for testing the leather in particular areas. For example, if you have bunions, these plastic plugs will allow you to stretch the boots where you need it the most.
What shouldn’t you do with your new boots?
There are plenty of things that you shouldn’t do with your new boots, especially leather boots, but some mistakes are somewhat more “popular” than others.
Don’t soak them in water.
Leather is a porous material, so it’s sensitive to moisture. When it gets wet, it will soften. Some may recommend dunking the boots in water or soak and wearing the shoes while wet so that they take your feet’ shape.
Not only that, it’s not a pleasant experience, but your leather boots will also lose the natural oils throughout the process. They may feel softer, but they will lose the suppleness and become brittle in no time.
Don’t use the hairdryer.
Some recommend using a hairdryer for stretching the leather, but it’s not the best tip to follow. Extreme heat may soften the leather, but it will also dry out and draw the leather’s natural oils. Losing the natural oils and moisture will make the surface of your boots contract and crack.
Don’t freeze the hiking Boots.
Another popular tip is to fill a freezer bag with water, place the bags in your boots, and put the footwear in the freezer afterward. As the water freezes, it expands and helps the boots stretch.
It makes sense in a way, but you cannot control the process. The risk of water stress and even split the seams of the boots is significant.
The final tip
It’s always a good idea to break in the new boots around the house, no matter how comfortable they may feel when out of the box. Some hot spots only develop when walking for hours, so play it safe and never skip the break-in period.